If you ever tire of the traditional trails through the forests and hills in the Bay Area, there are some really fun rocks and boulders to climb and explore! Here are three hikes that take us to some favorite rock parks and areas. Be prepared for very little shade on any of these hikes. Pack water and a small first aid kit, in case of any bumps and bruises from the rocks!
This loop is approximately 2.5 miles, but it could be a little more or less based on how much exploring you do at each park. Enjoy, and be careful!
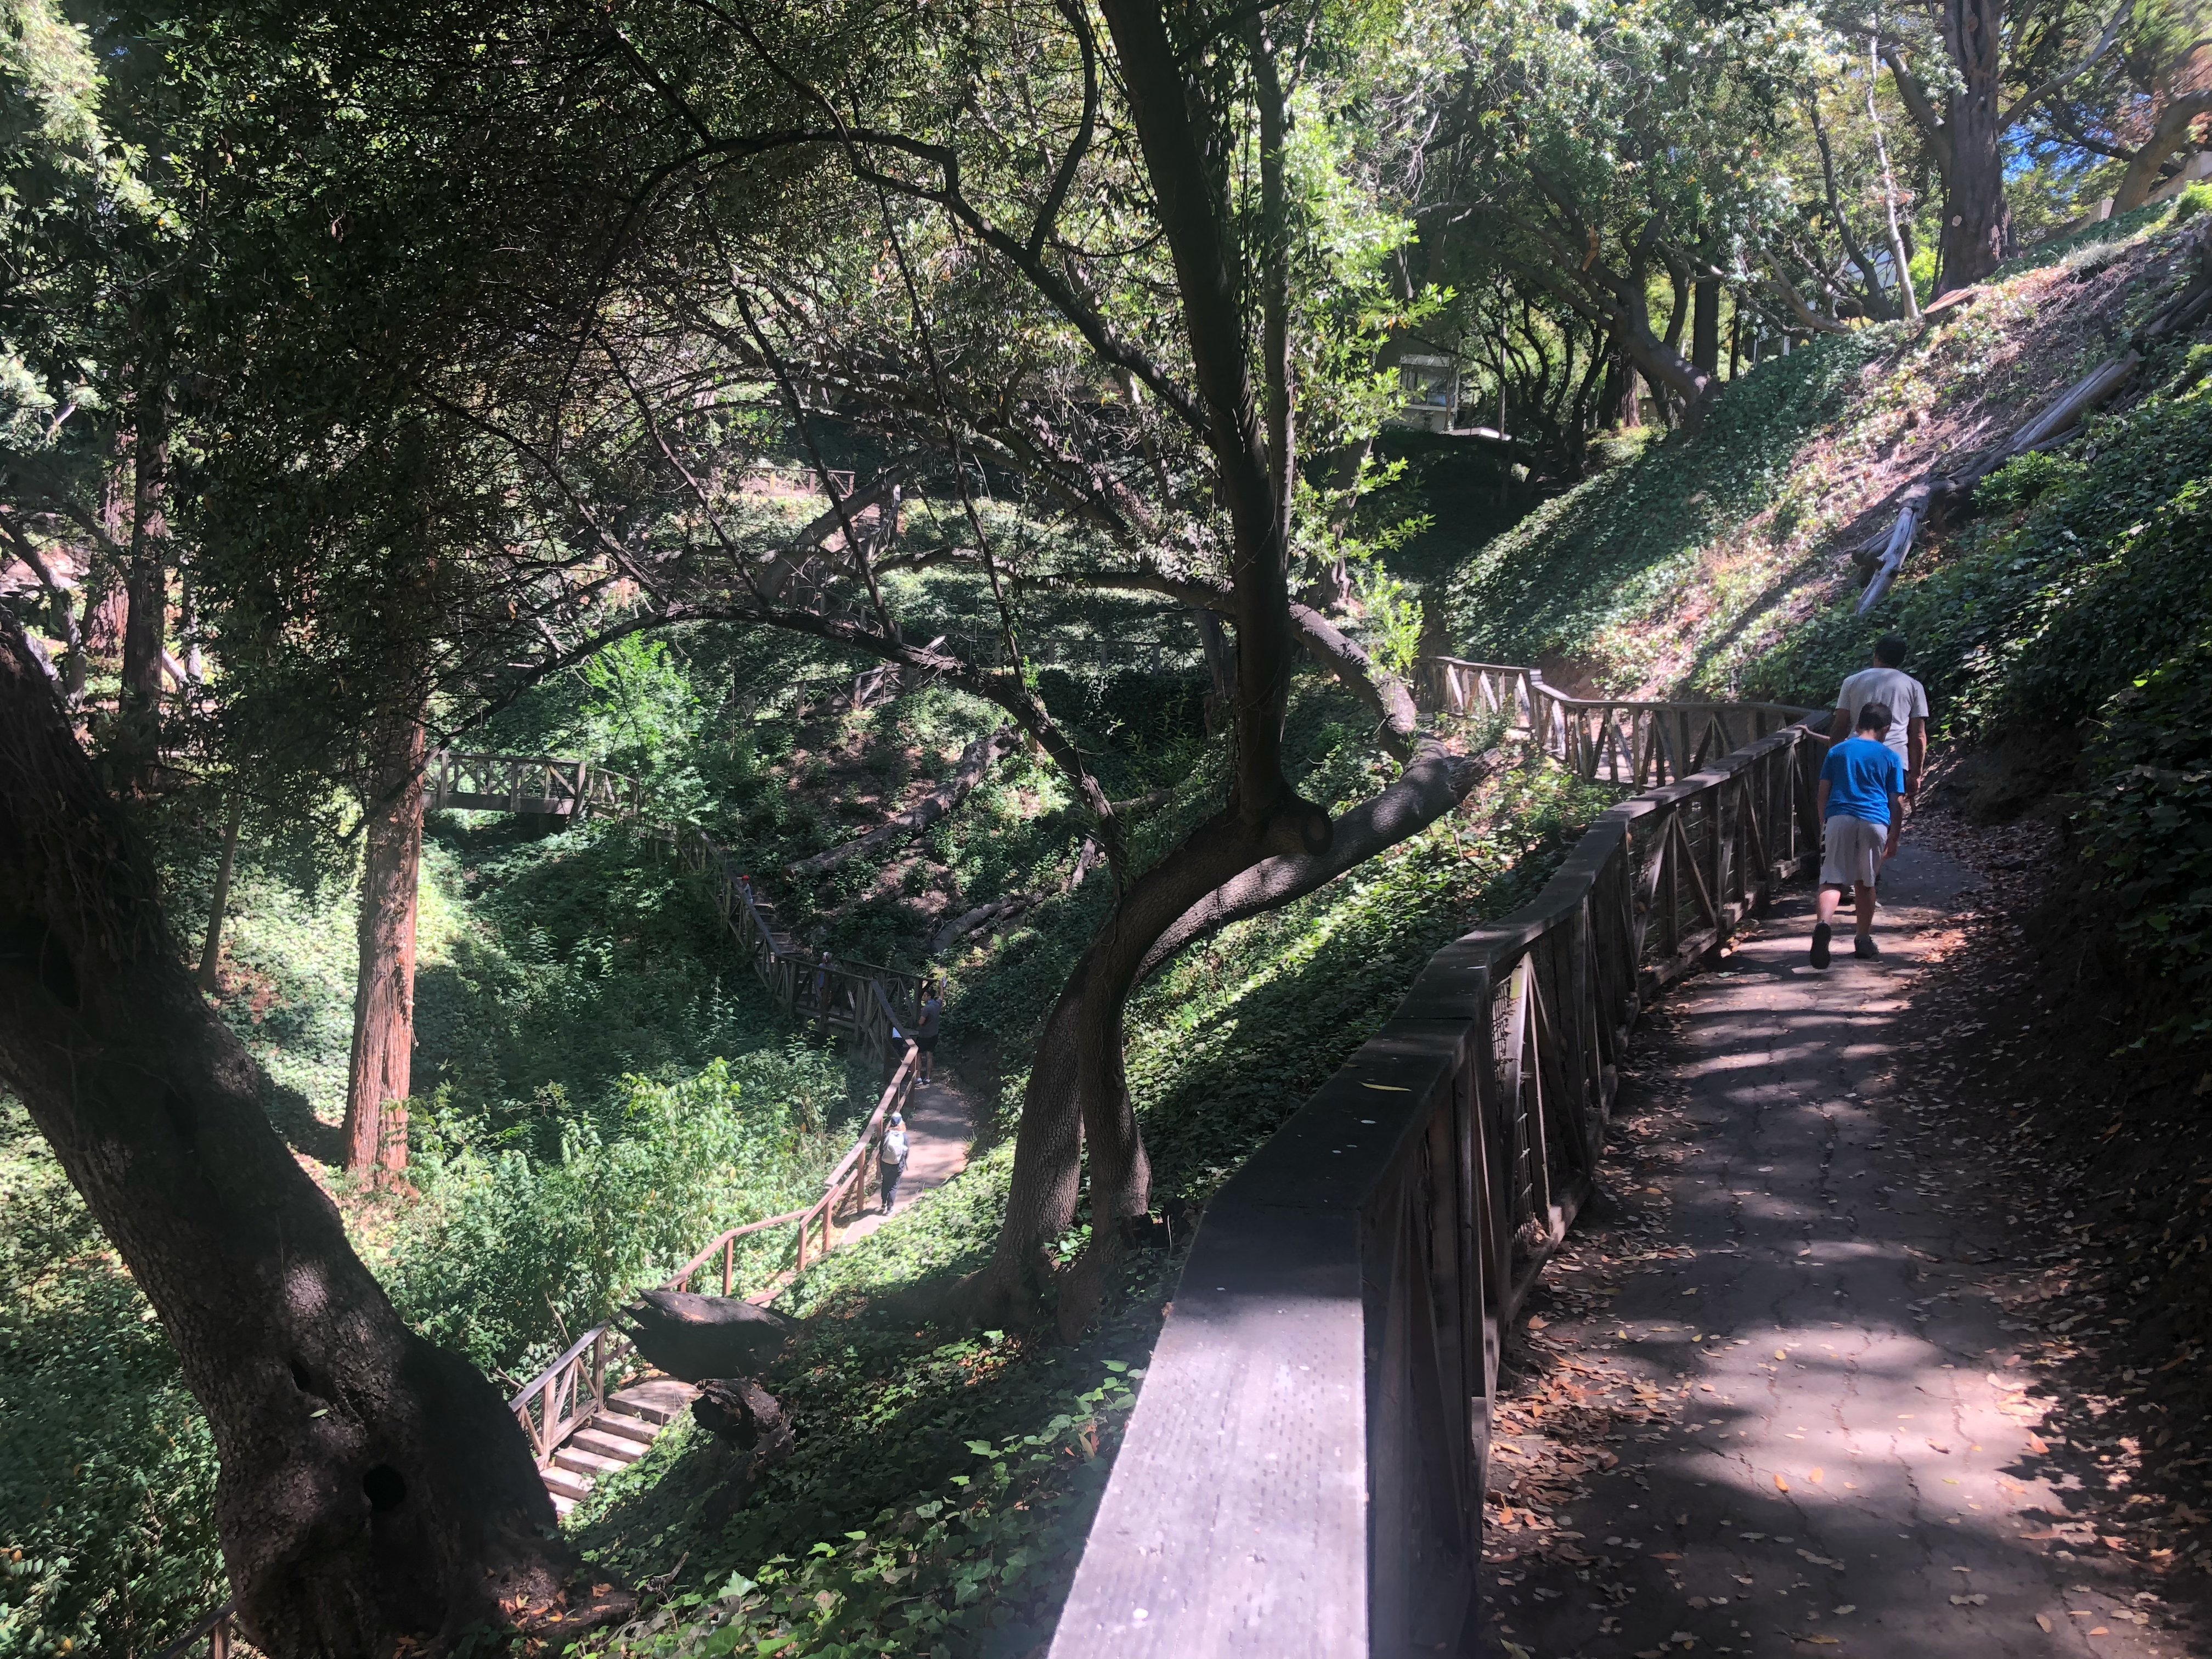
Park at John Hinkel Park, near Somerset Place and Southhampton. Adventure through this park’s wooden bridges up to the northeast corner, where there are stairs that take you up to San Luis Road. Turn left on San Luis and take a very short walk to Montrose Road. Turn right to continue on Montrose Road, and make your next right onto Santa Barbara Road. Walk down Santa Barbara until you hit Grotto Rock Park on the left. Explore Grotto Rock. When done, pop back onto Santa Barbara Road, and make your next (very quick) right onto Indian Rock Avenue. Walk along Indian Rock Avenue down to Mortar Rock Park on your left. Take your time to explore Mortar Rock. When done here, continue on Indian Rock Avenue to Indian Rock Park, which is just down the street another block. Explore here, taking in the awesome views from the top of this rock! When you’re finished exploring Indian Rock, take the Indian Rock Path out of this park, heading west, crossing Arlington Avenue and Mendocino Avenue. When you hit Contra Costa Avenue, turn right, and find your final rock park on this loop – Contra Costa Rock Park – a few steps up the road. After climbing down this rock, continue north on Contra Costa Avenue and take the Yosemite Steps on your right. There is a small park with a bench at the top. Turn right on Yosemite Road, and continue right onto, and for a short walk, along Arlington. Carefully cross the street to Southhampton Avenue and back to John Hinkel Park and your car.


Alamo/Diablo: Rock City to Sentinel Rock Loop
Rock City at Mount Diablo is fun by itself, without the added hike to Sentinel Rock. There is no specific hike to follow here, as exploring the rocks, boulders, and caves is part of the adventure. Take your time wandering the paths and enjoy! Rock City is located approximately one mile north of South Gate Kiosk to Mount Diablo State Park.
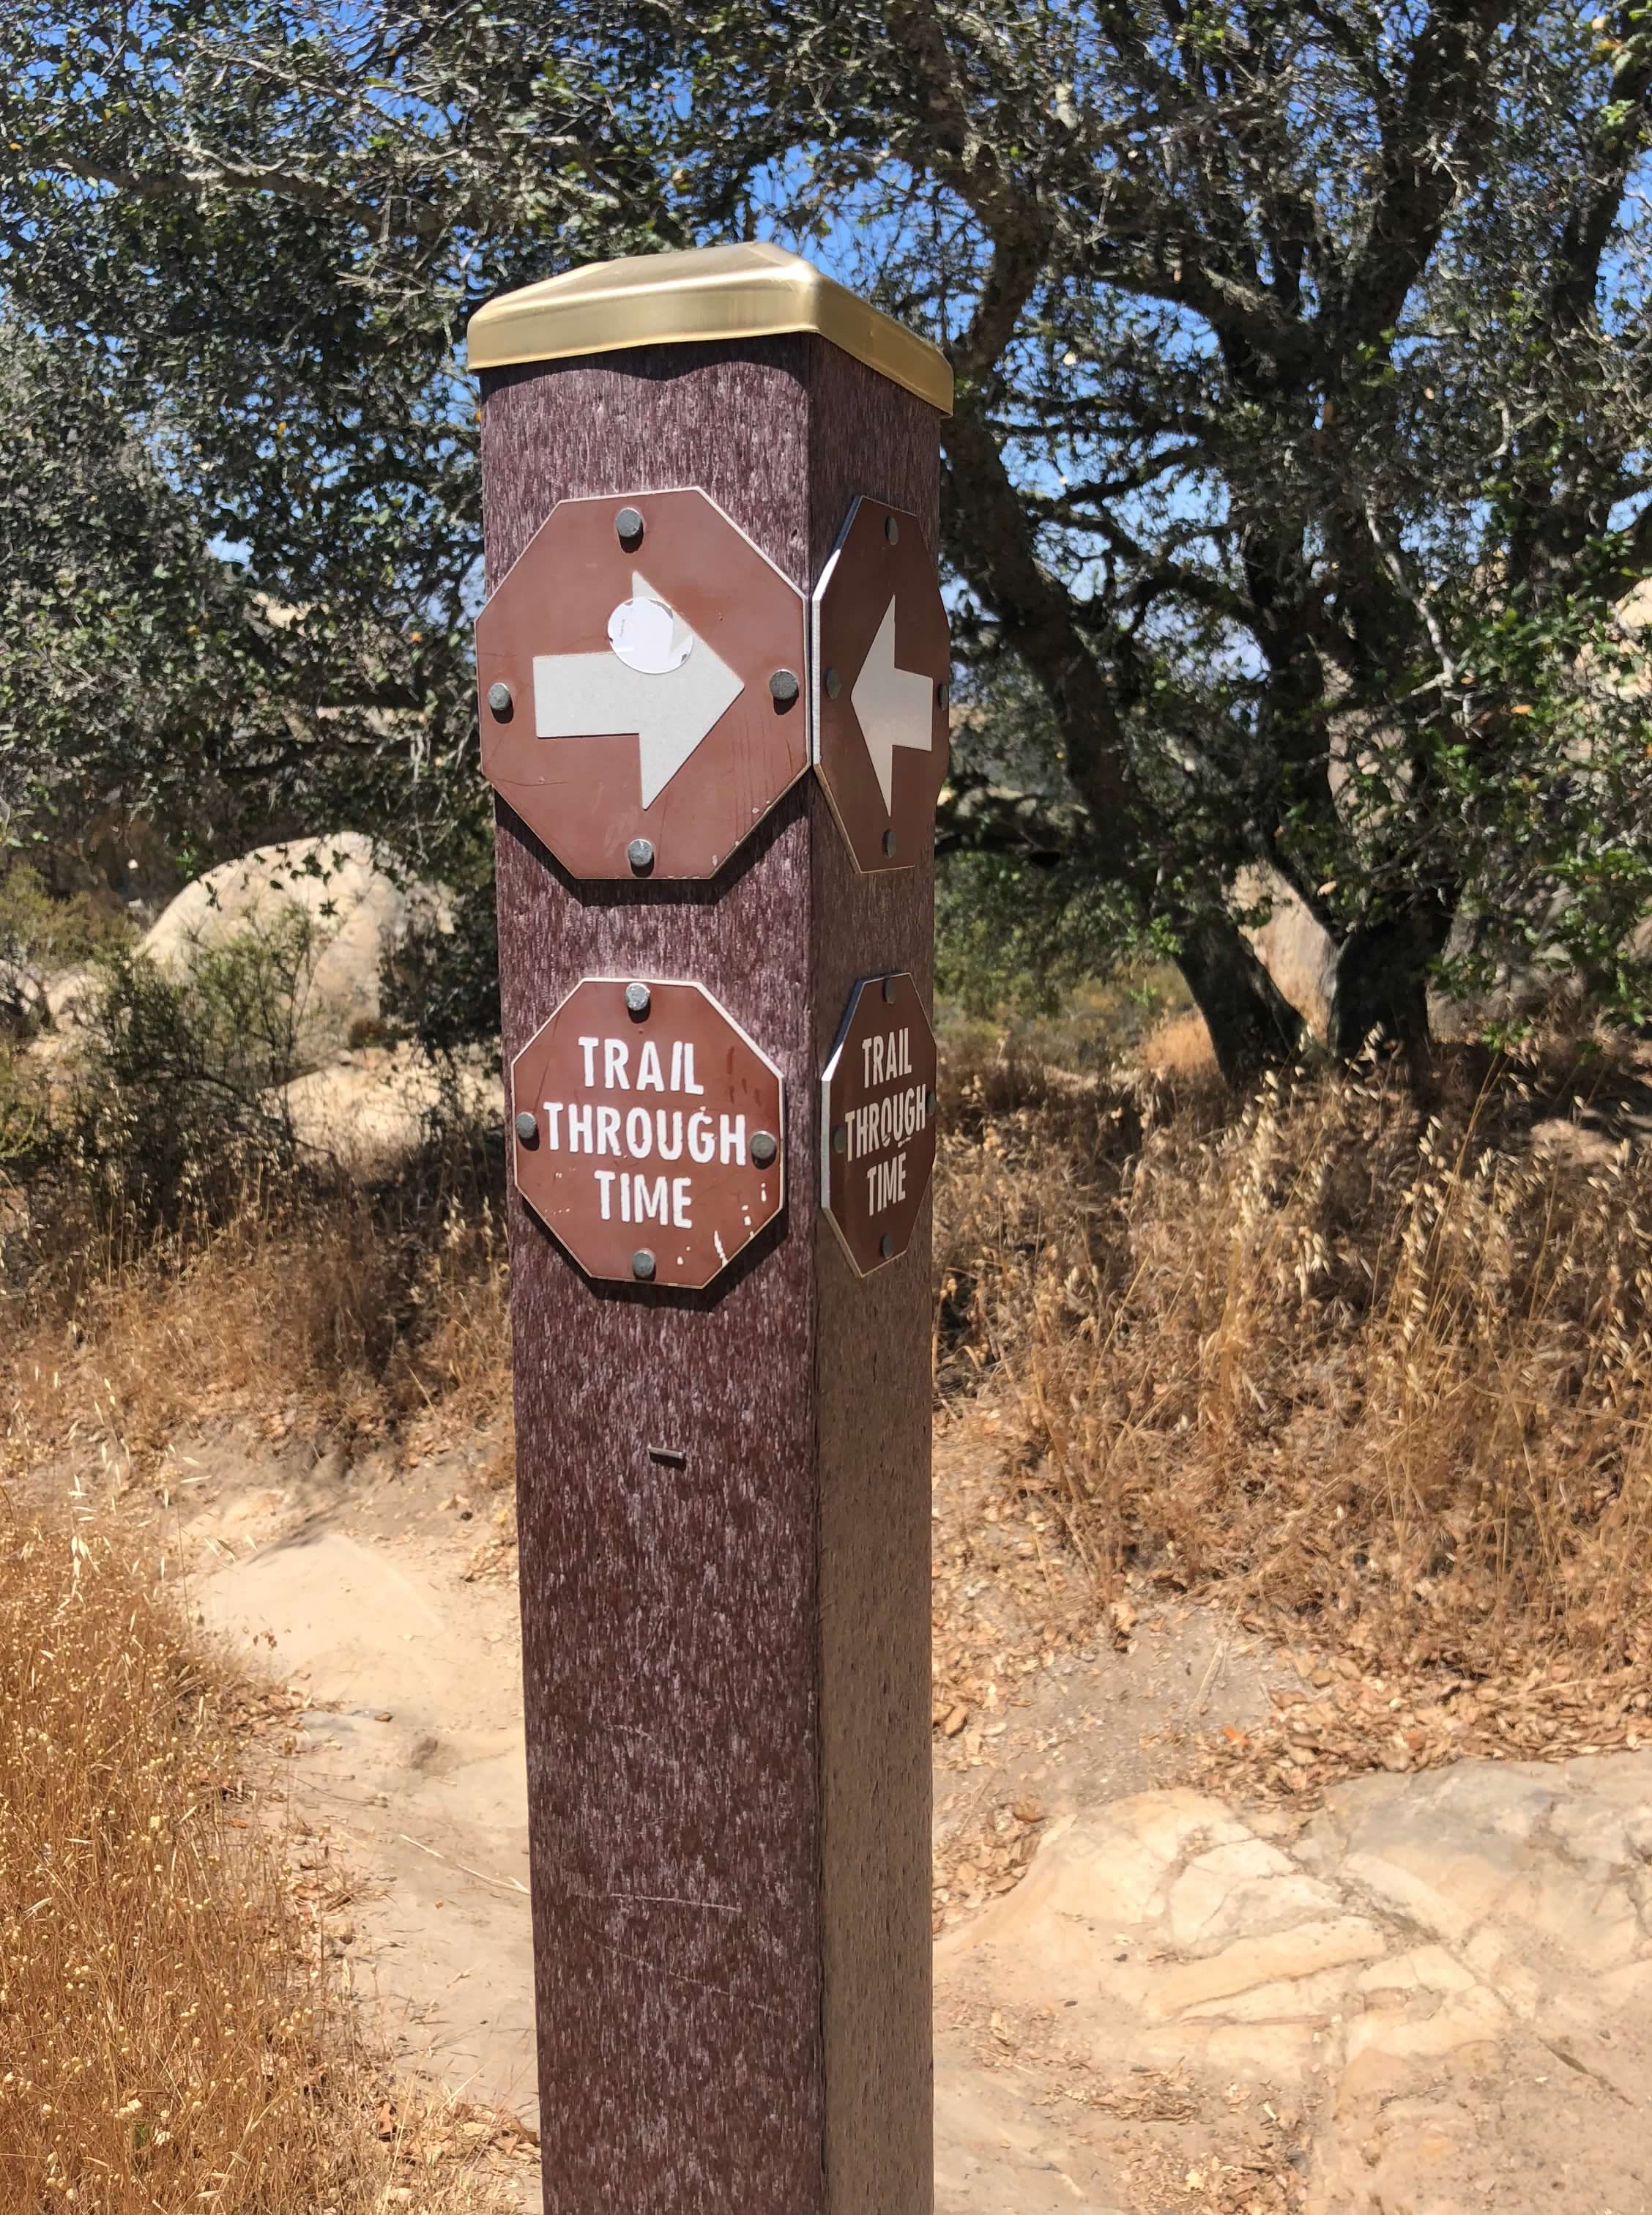
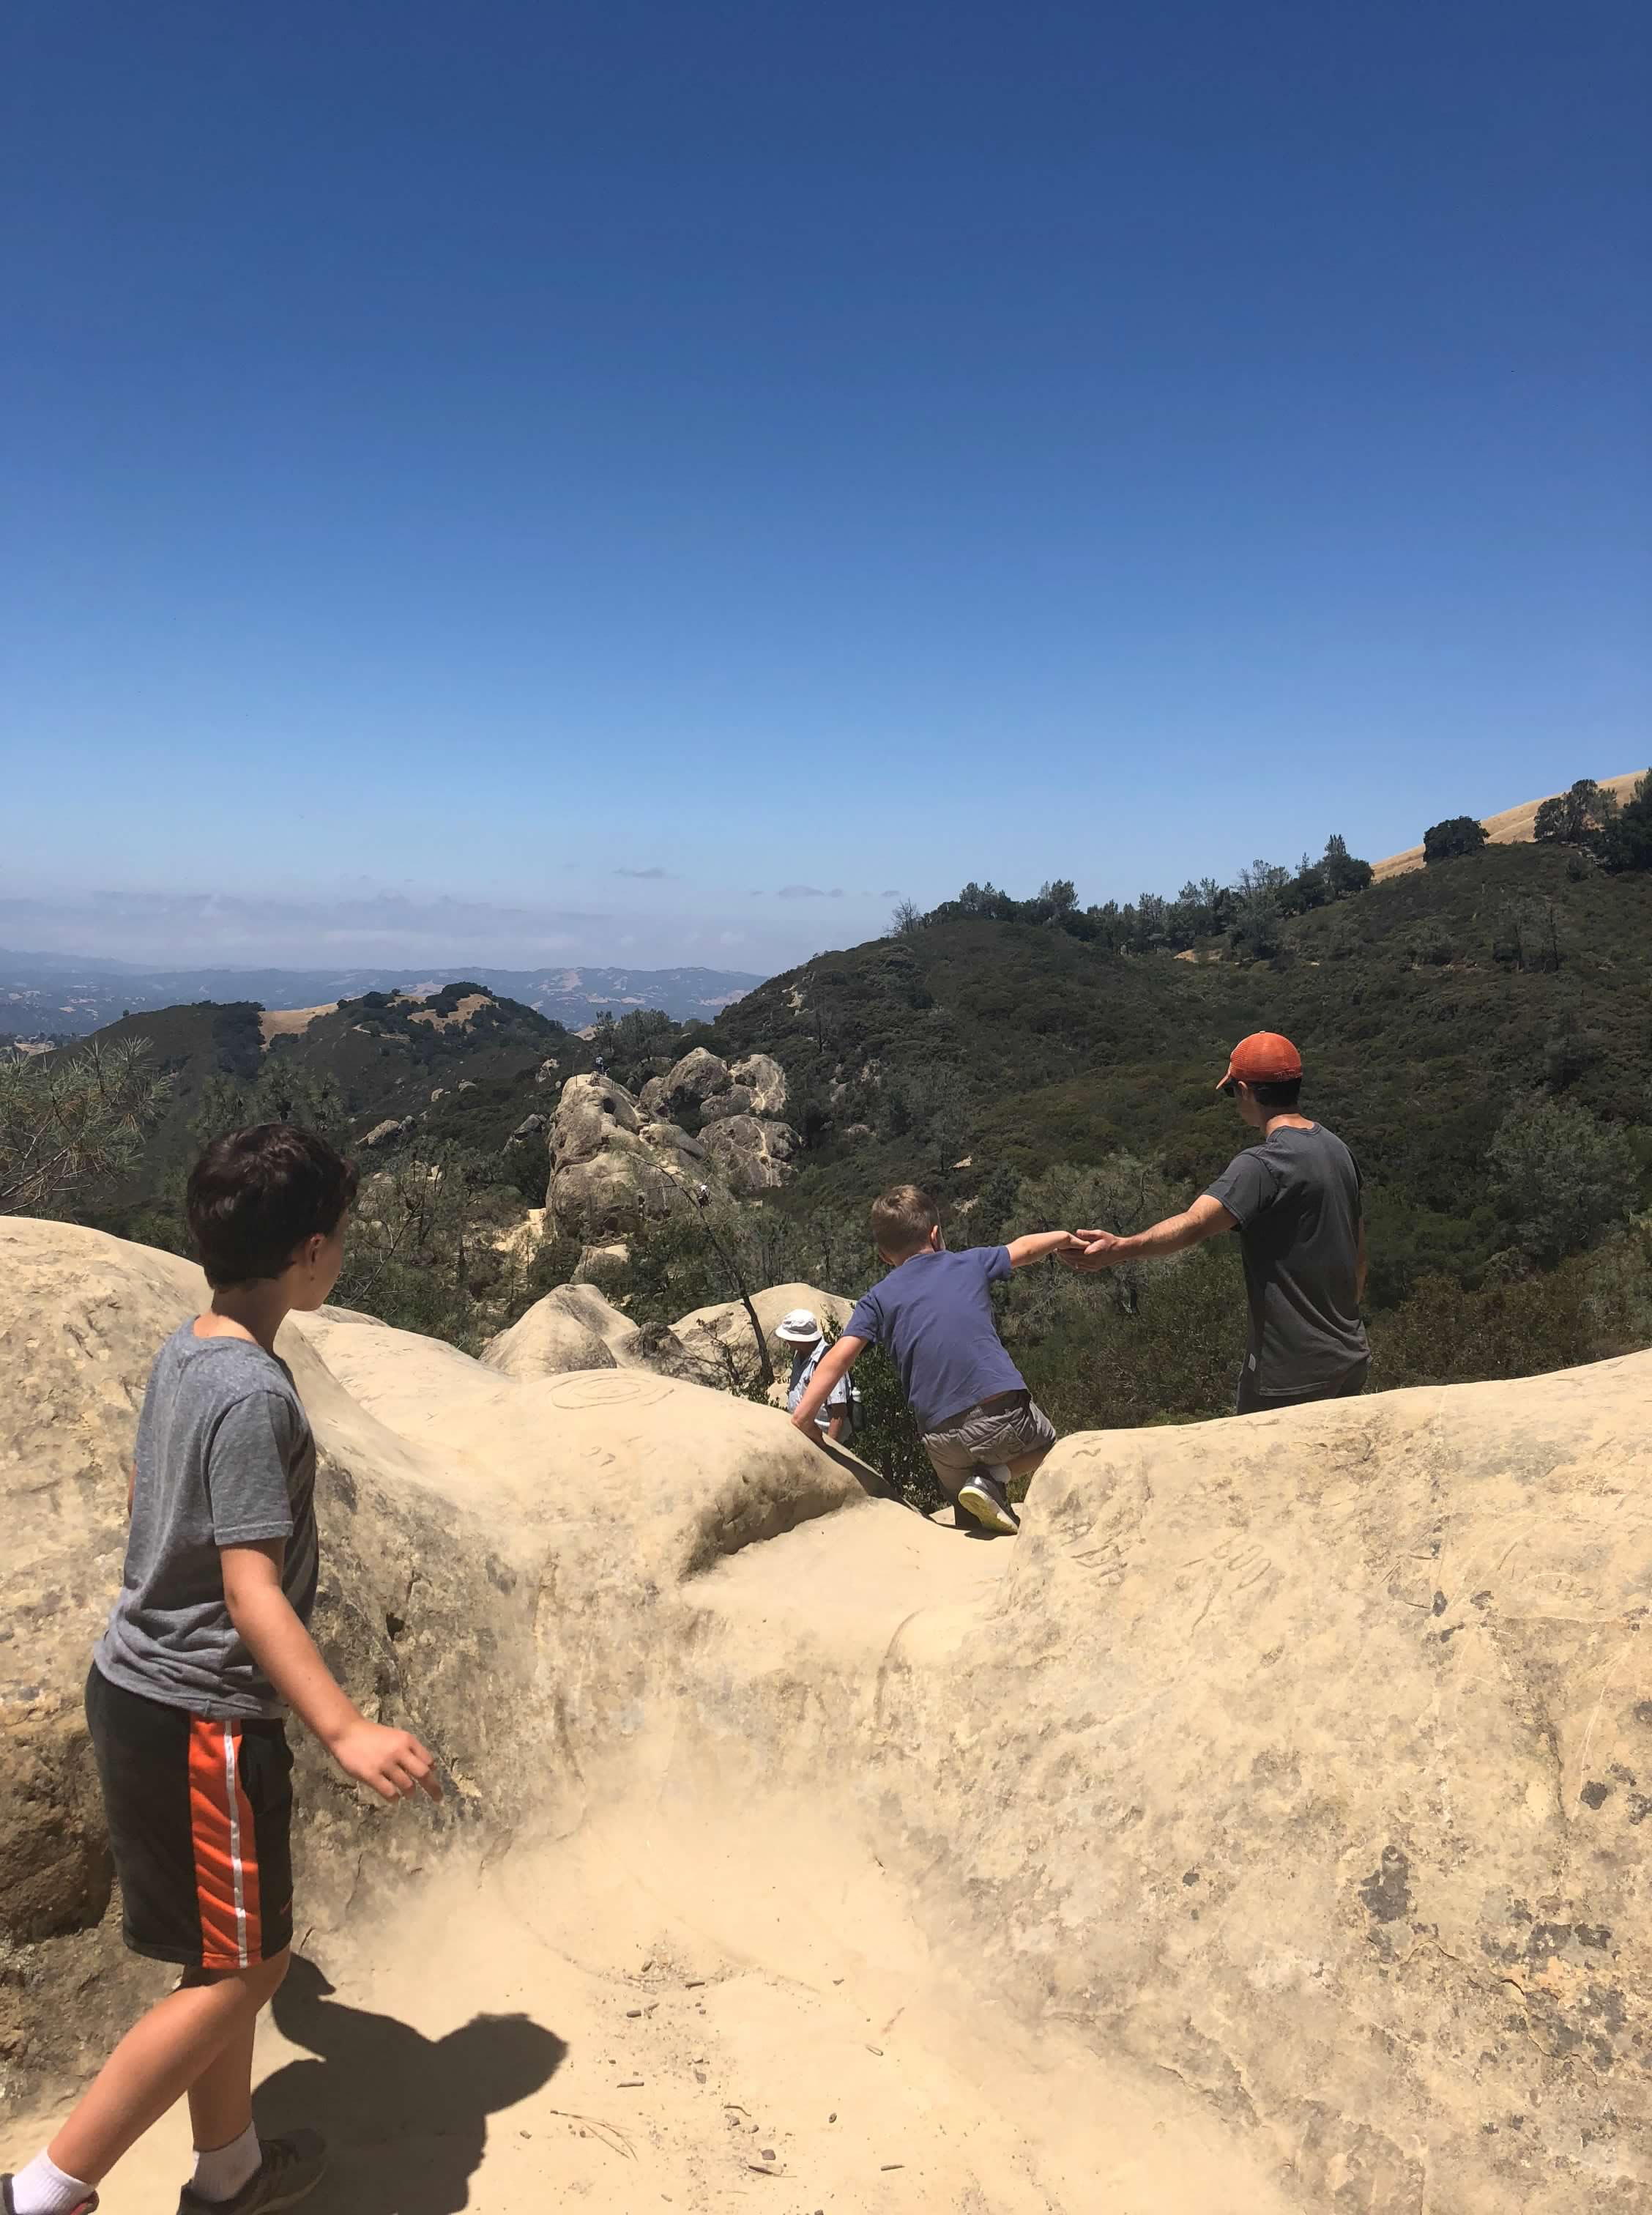
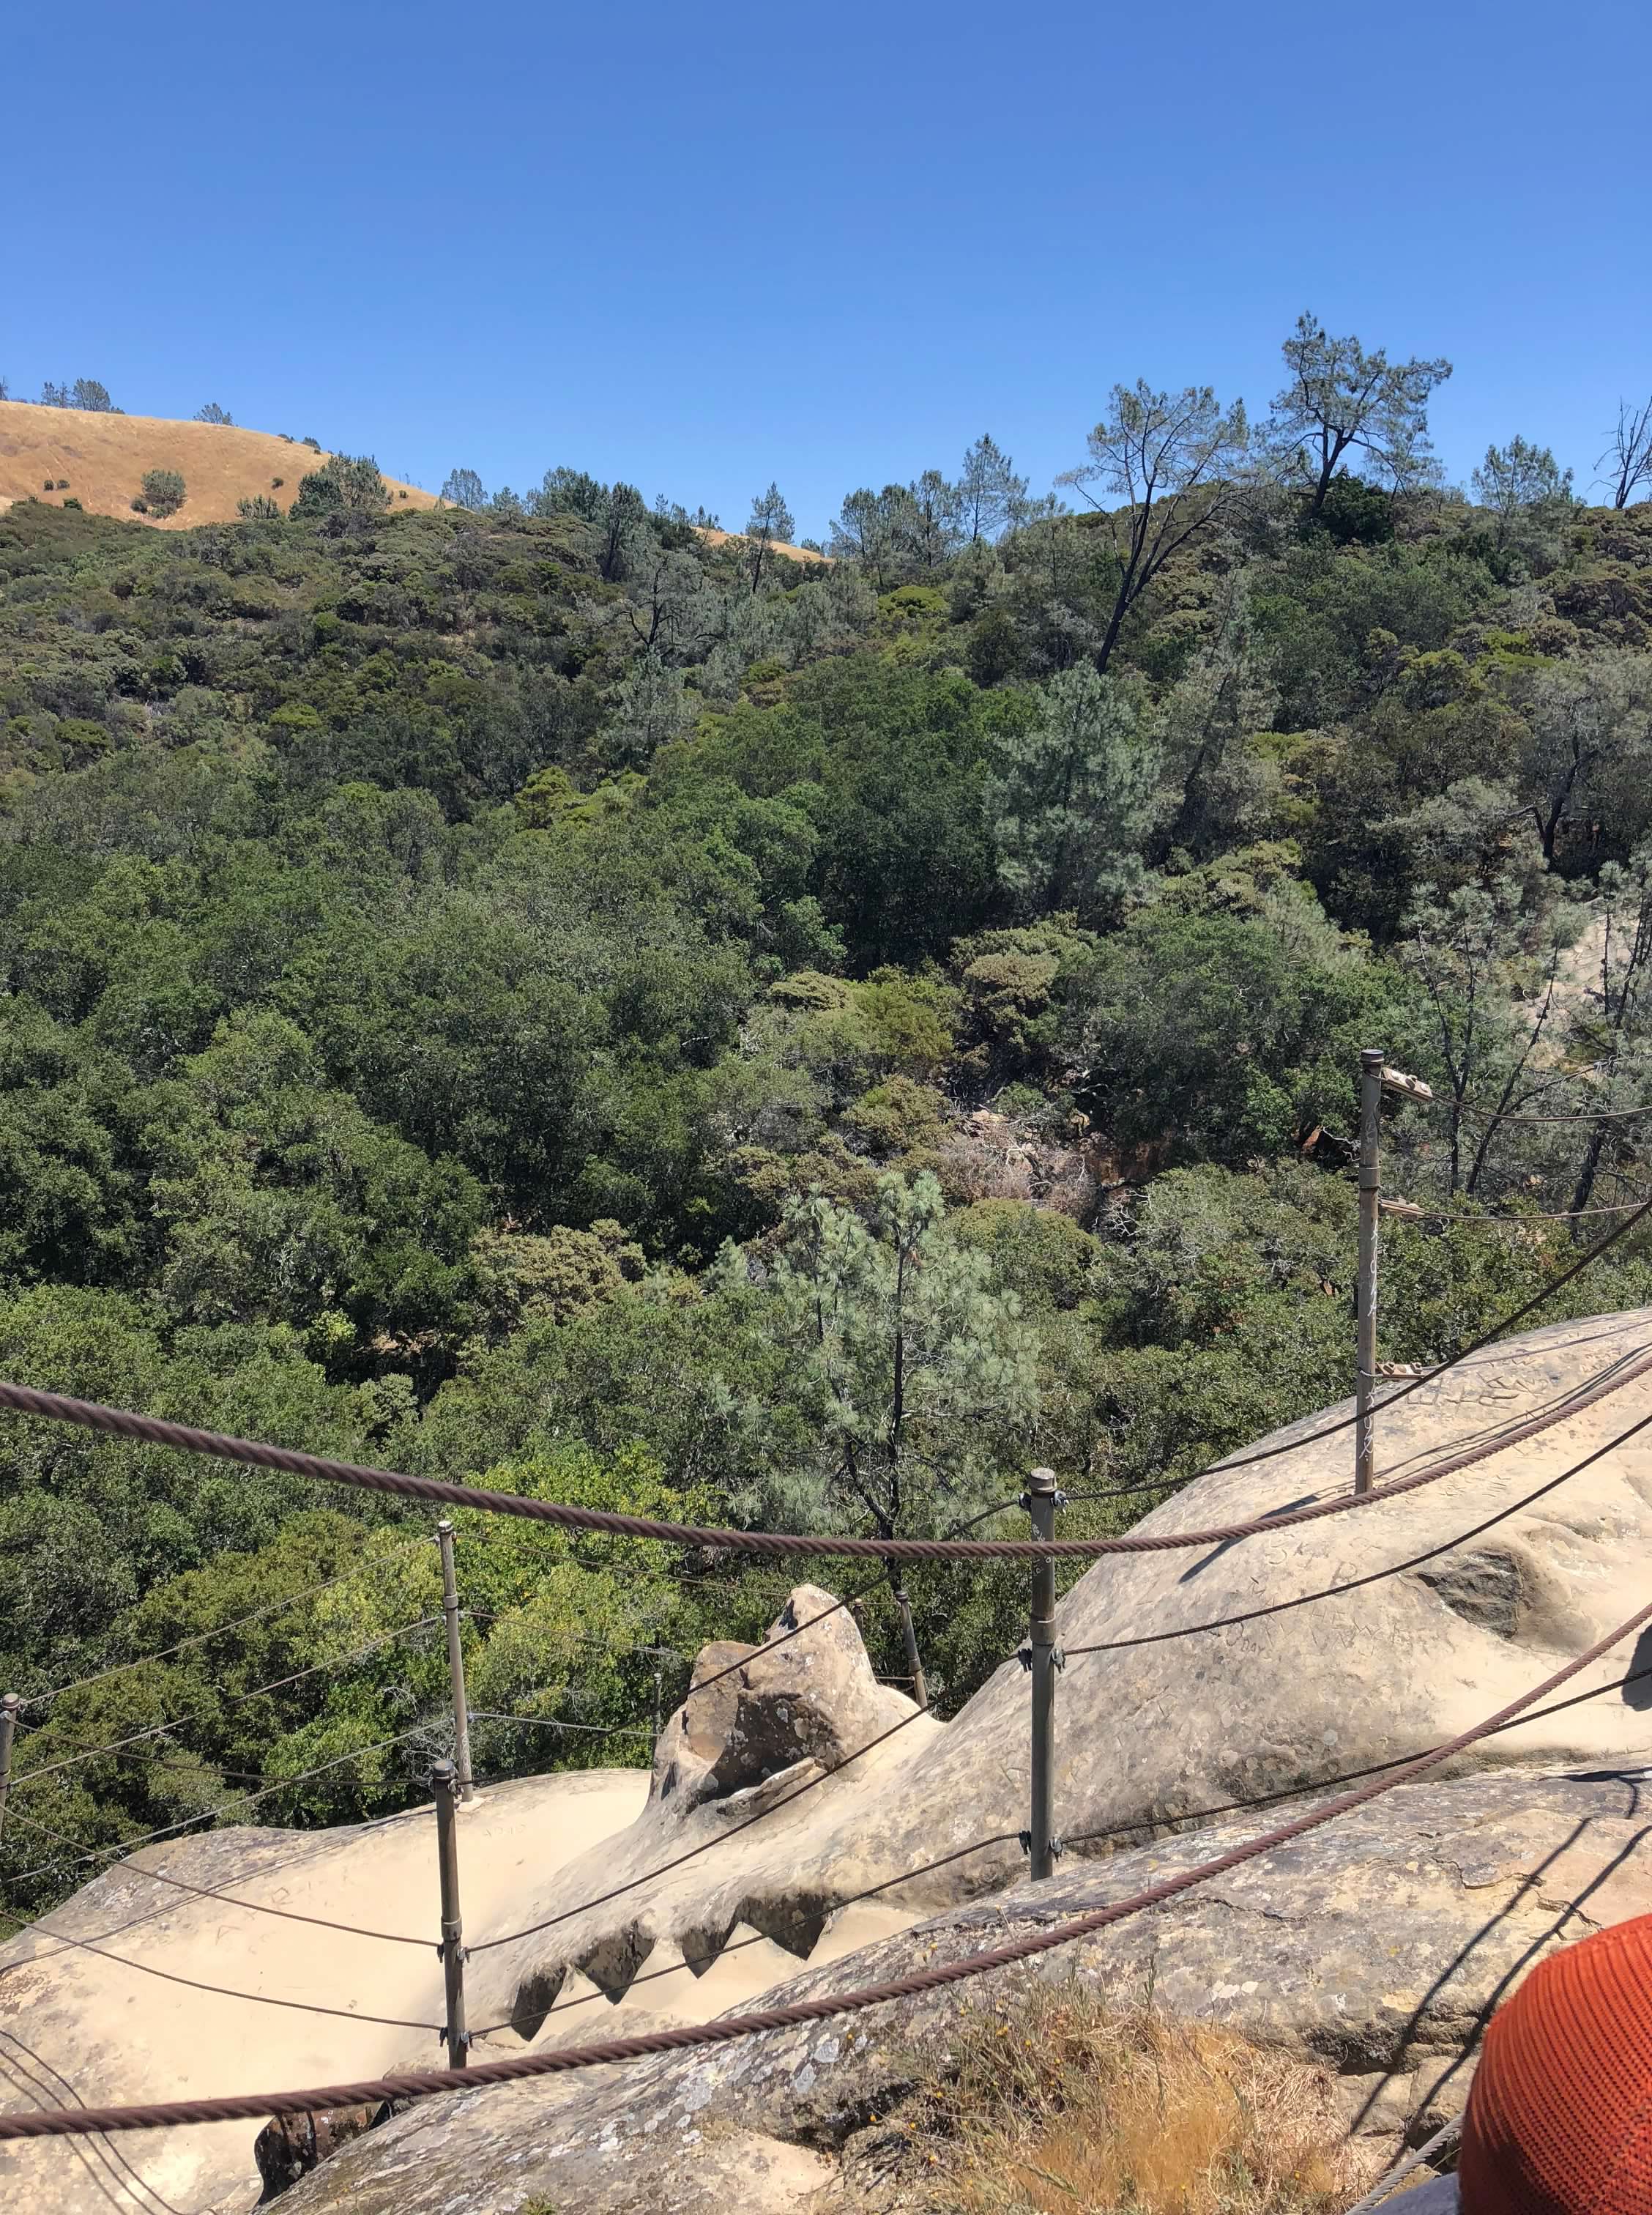
For more experienced hikers, hiking out to Sentinel Rock is worth it – though the top of Sentinel Rock is not recommended for anyone afraid of heights! The climb up is assisted by steel cables, and those cables are all the barrier you’ll have at the top, but the views of the surrounding area are awesome. Hiking shoes or shoes with good grip are recommended because the terrain is a bit rocky with loose dirt/sand, and there are parts where there is no clear trail. We use the AllTrails app for gps and trail guidance. This is a popular hike, so it may be that you can simply follow along or ask hikers along the way to help guide you to the right spot. Begin this hike at Rock City, and follow the trail marked “Trail Through Time” past the wind caves and Little Rock and over to the Civilian Conservation Corps Trail (“CCC Trail”) towards Sentinel Rock. There are carved stairs in some of the rocks as you make your way over to Sentinel Rock, and you’ll eventually reach carved steps on the east side of Sentinel Rock up to the top. It’s about one mile out and back, so this is a short hike if you’re up for the challenge!


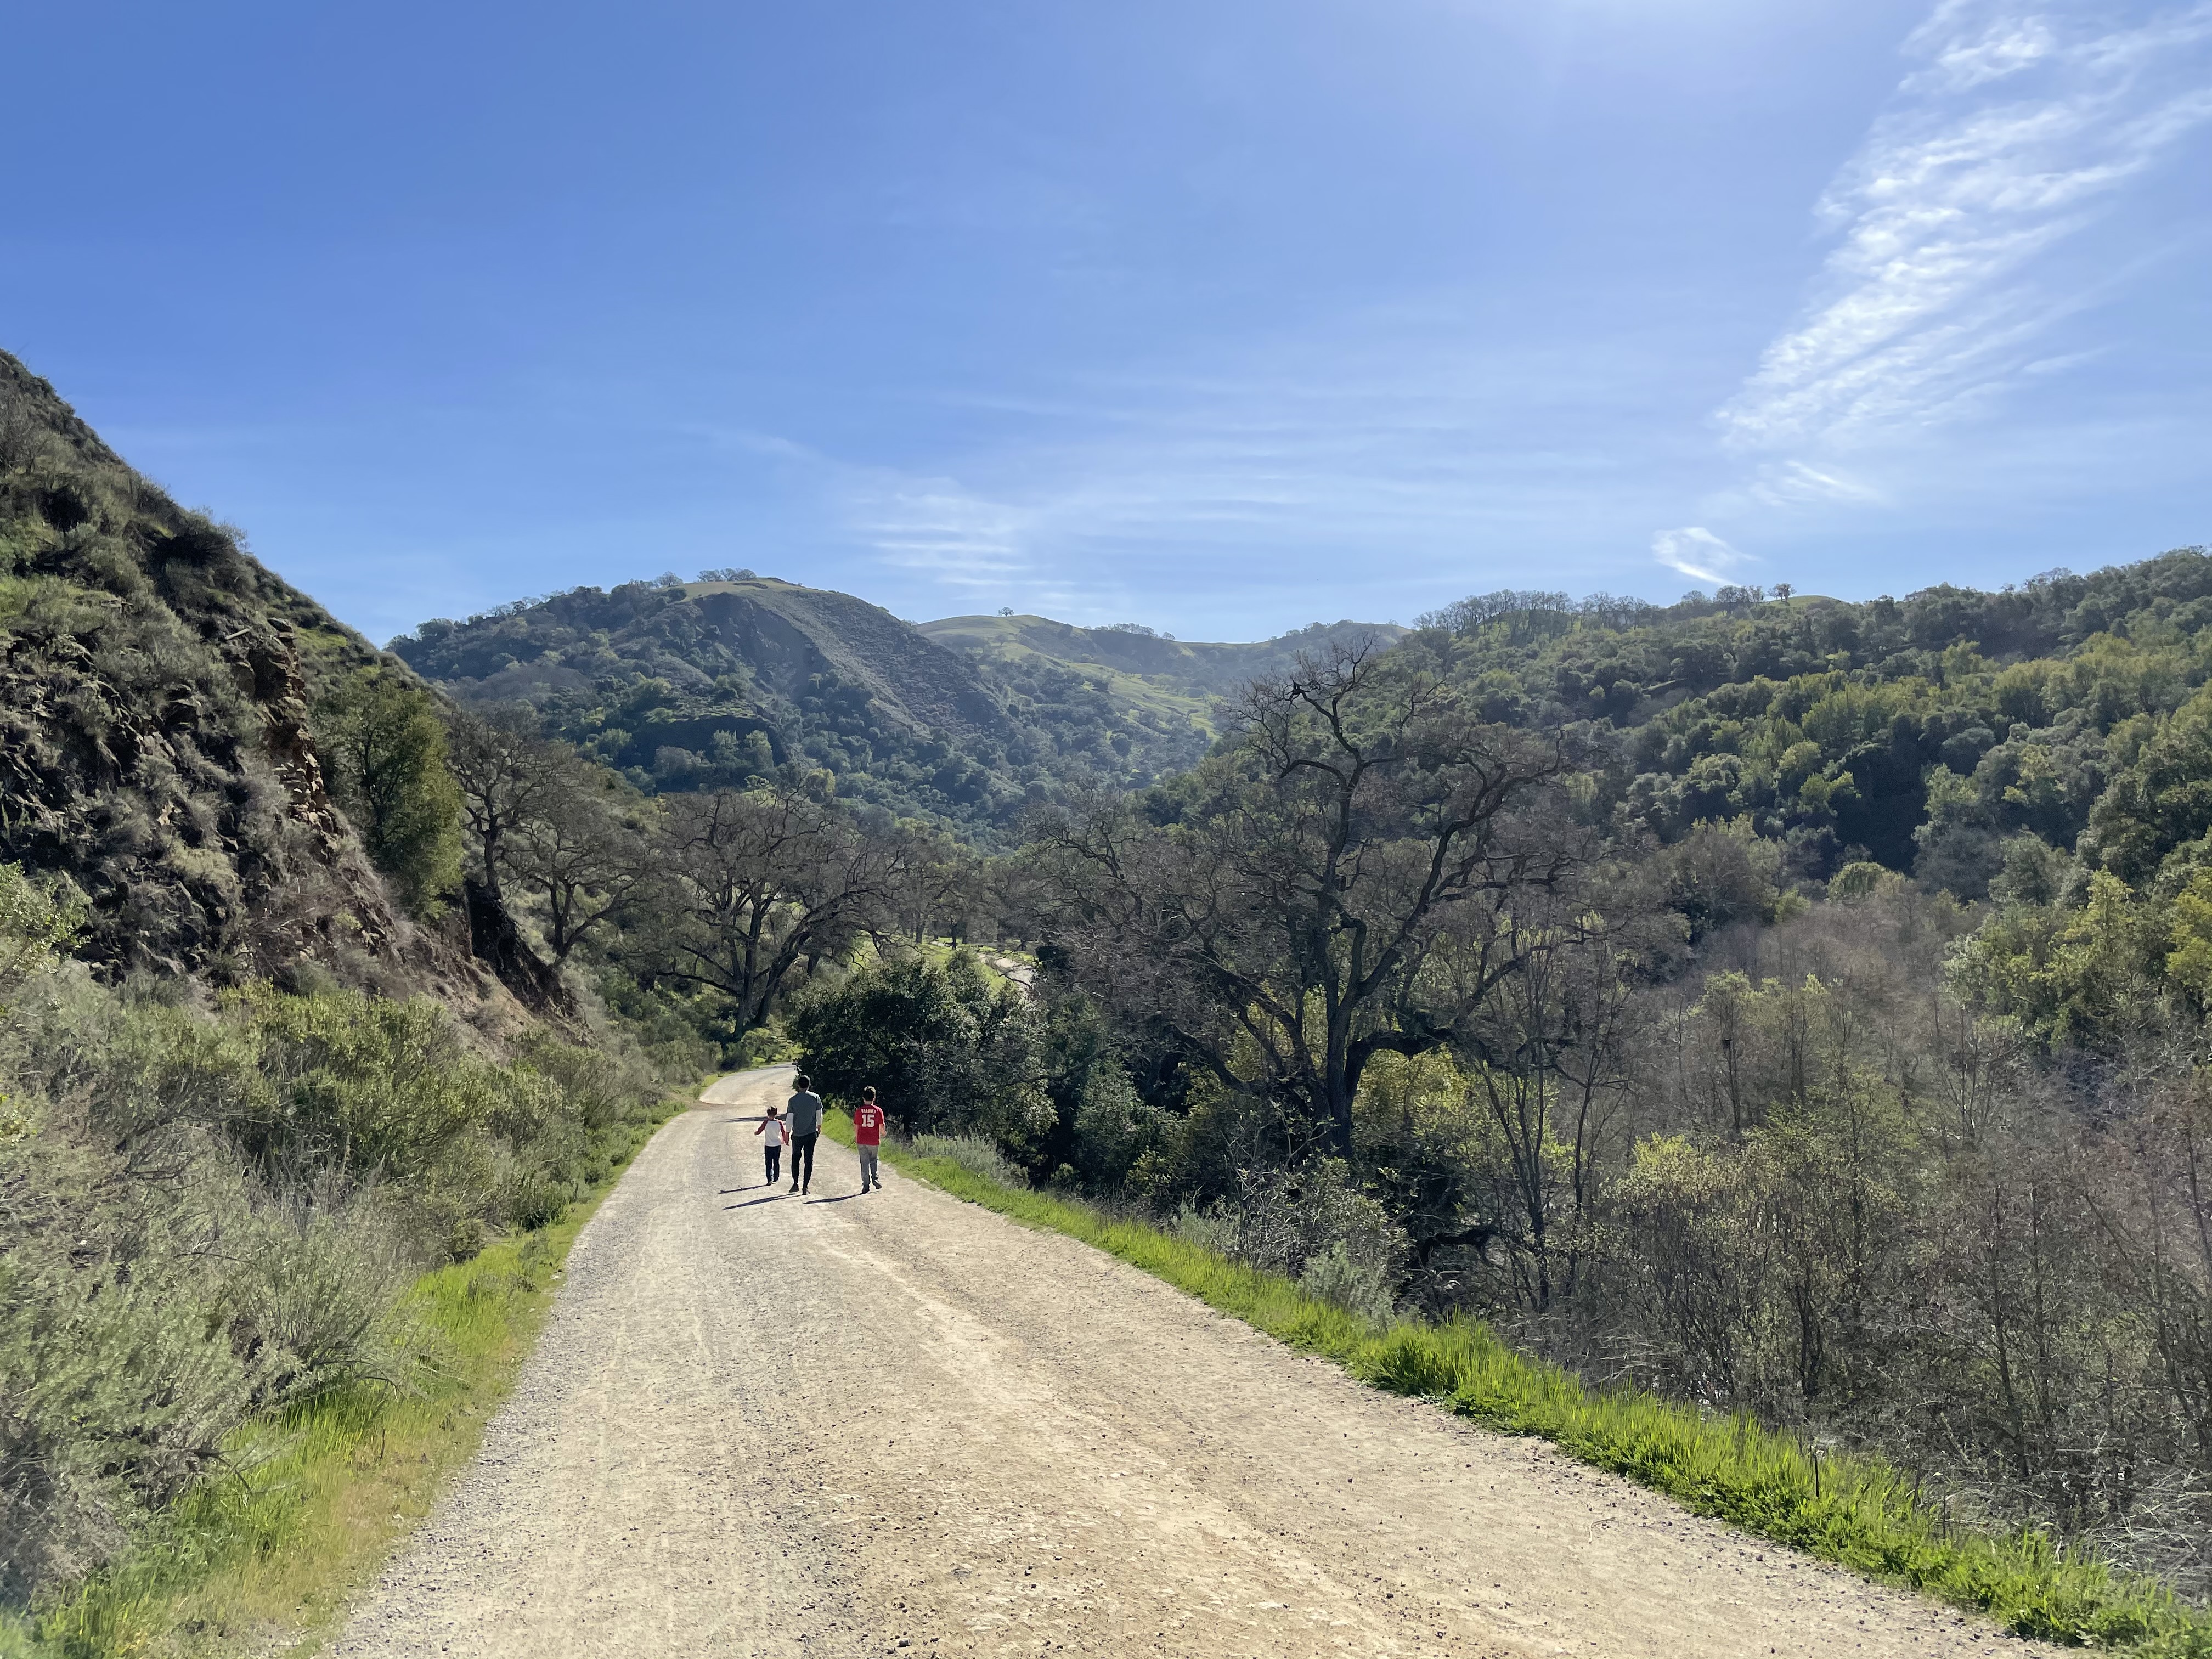
If you want to check out some cool rocks along a well marked hiking trail, head to Sunol Wilderness Regional Preserve. Park in one of the lots at the end of Geary Road, past the entrance and visitor center. There is no cell service in the parking lot or along a lot of the trail, so I recommend taking a photo of the trail map for guidance. Luckily, trails are well-marked, so the park is fairly easy to navigate.
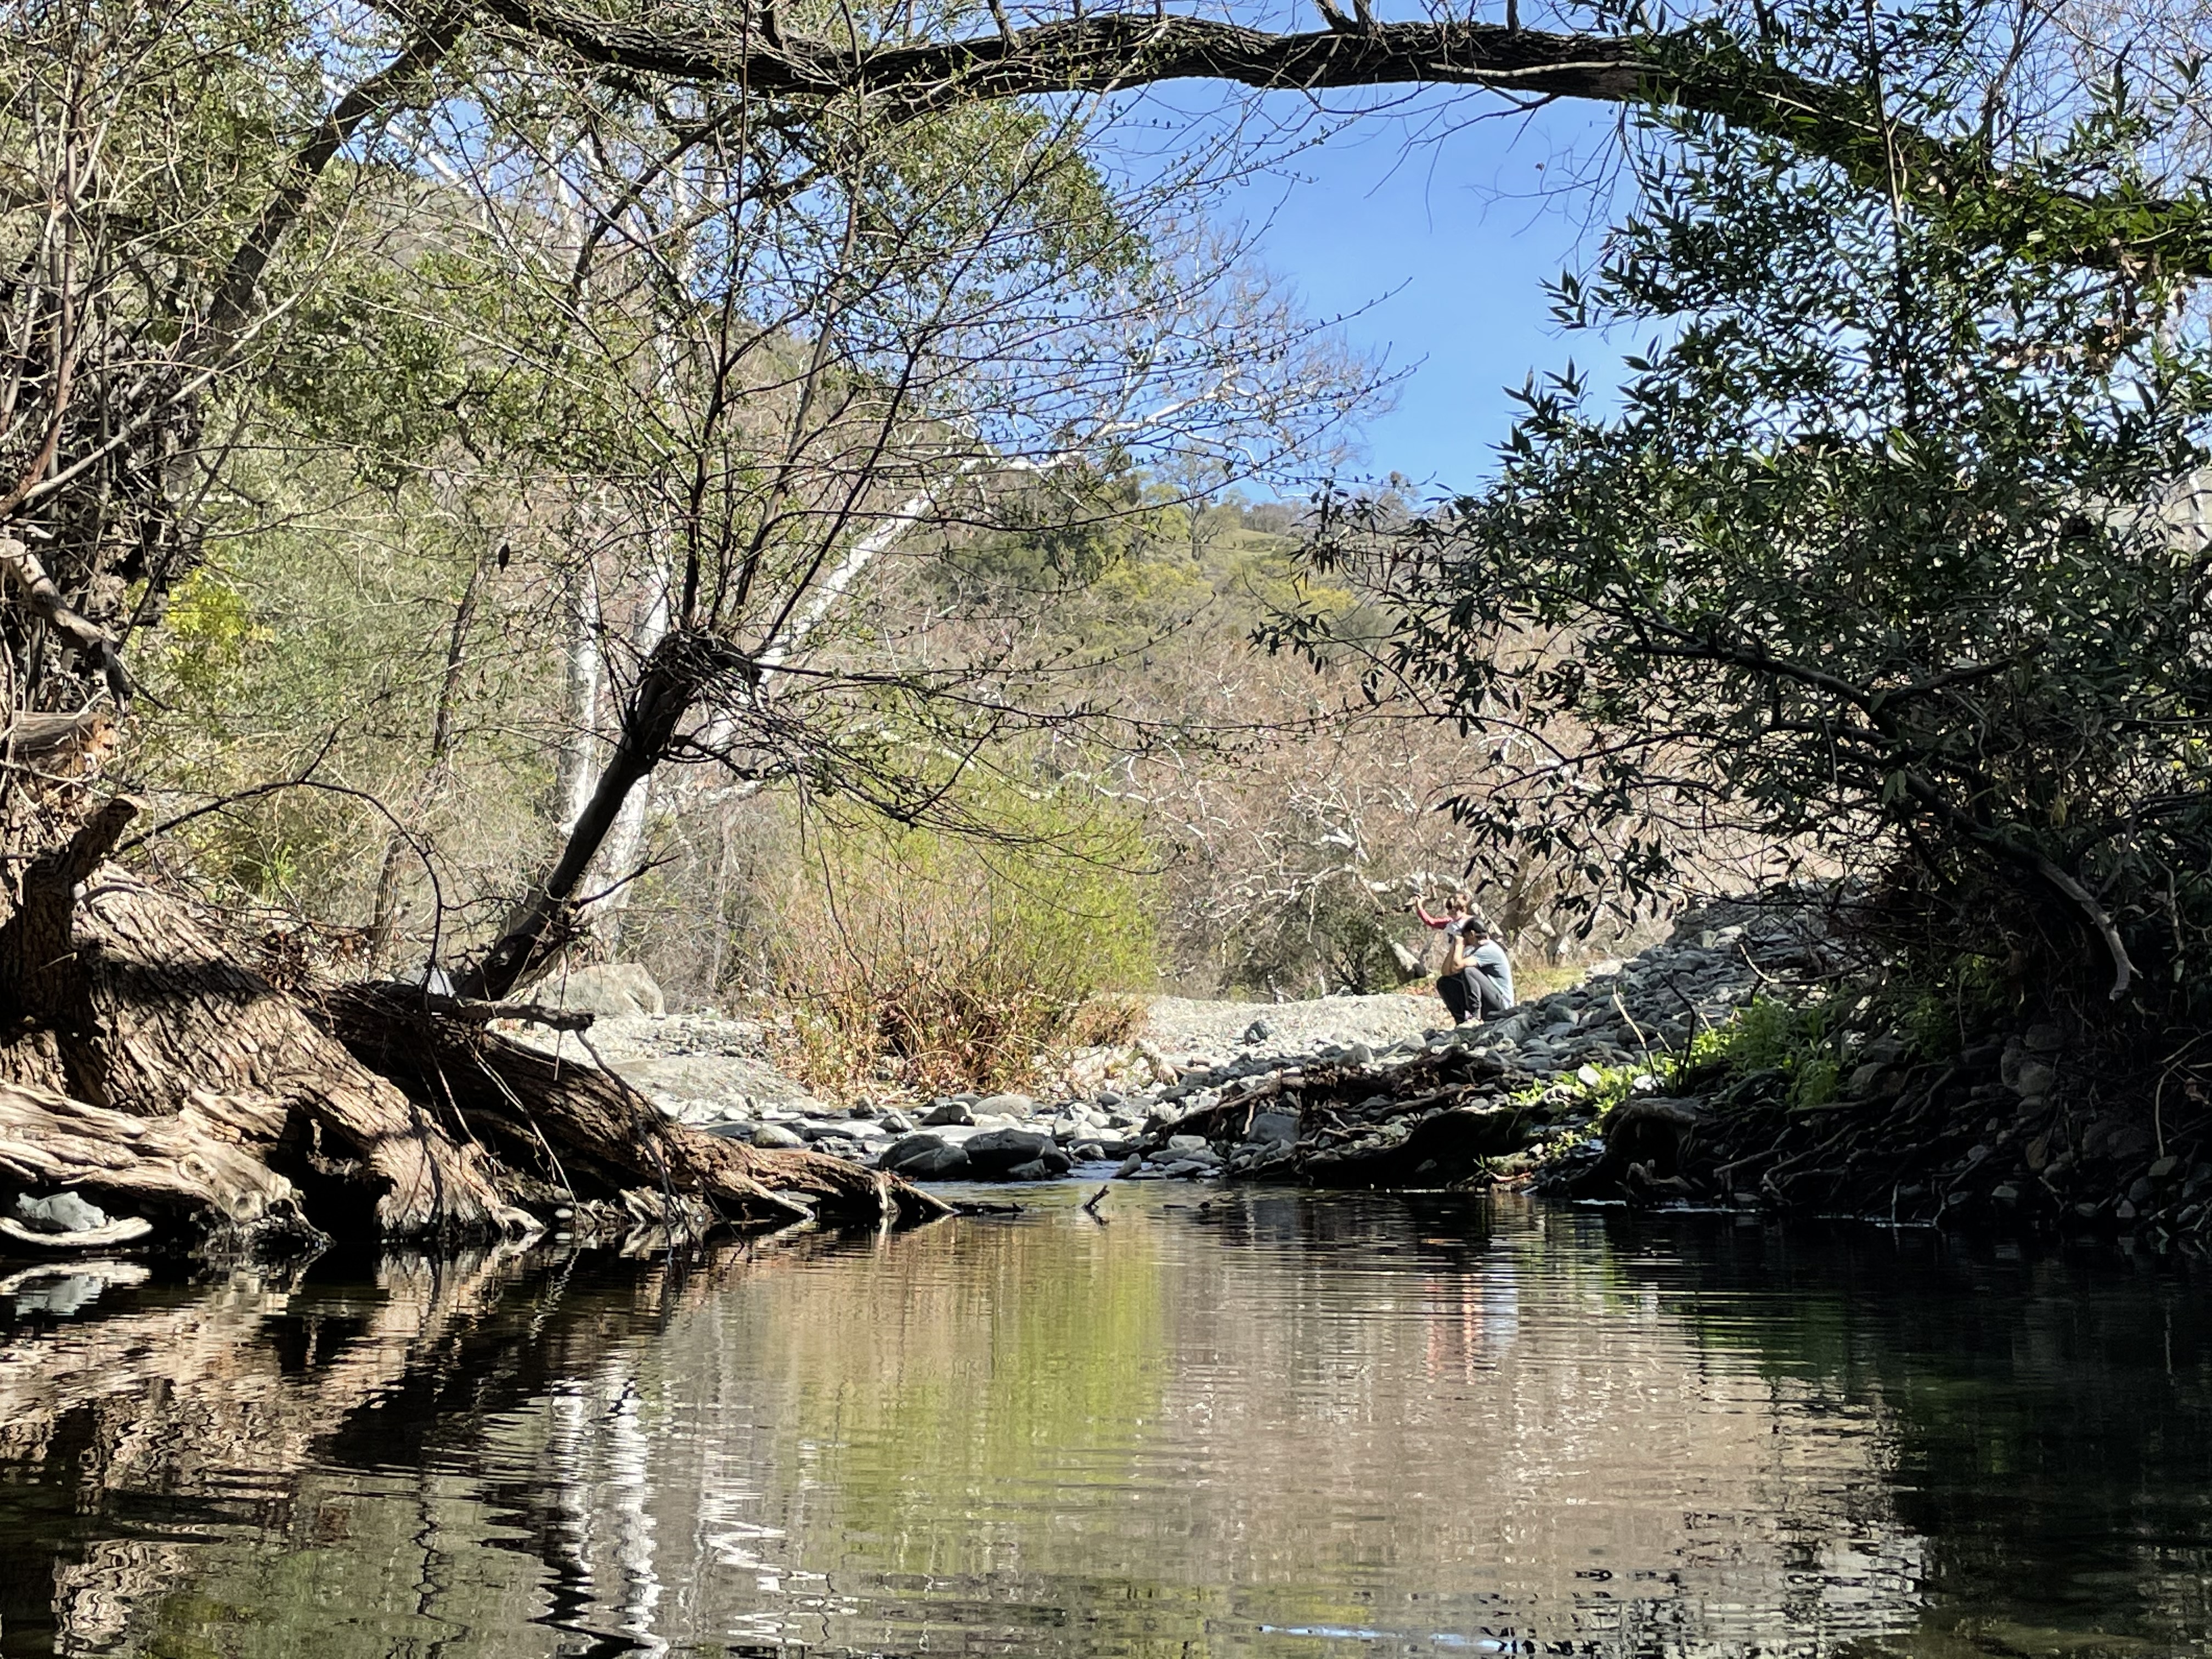
Start on Camp Ohlone Road, which takes you on a bridge over Alamo Creek. There are small trails down to the creek along the way, so use the opportunity to explore! Around 0.8 mile along Camp Ohlone Road, you’ll see huge boulders and waterfalls on your right. We had some rain the week before we hiked this loop, so the water was flowing nicely! Right around 1 mile, you’ll reach the Little Yosemite Area, where you’ll see signage and a restroom. If you hike up just a little further, you’ll see a small unmarked path down the right to a huge area with the creek, stones, and rocks all around. The kids liked hopping along and skipping rocks in the creek. Please note, however, that Little Yosemite is open to the public through a lease agreement with the San Francisco Water Department, which owns the property. The East Bay Regional Park District asks visitors to abide by the boundary signs and not trespass onto Water Department lands that are not part of the lease arrangement. As you take in your surroundings at Little Yosemite, you’ll see how this spot is reminiscent of the much grander Yosemite National Park.
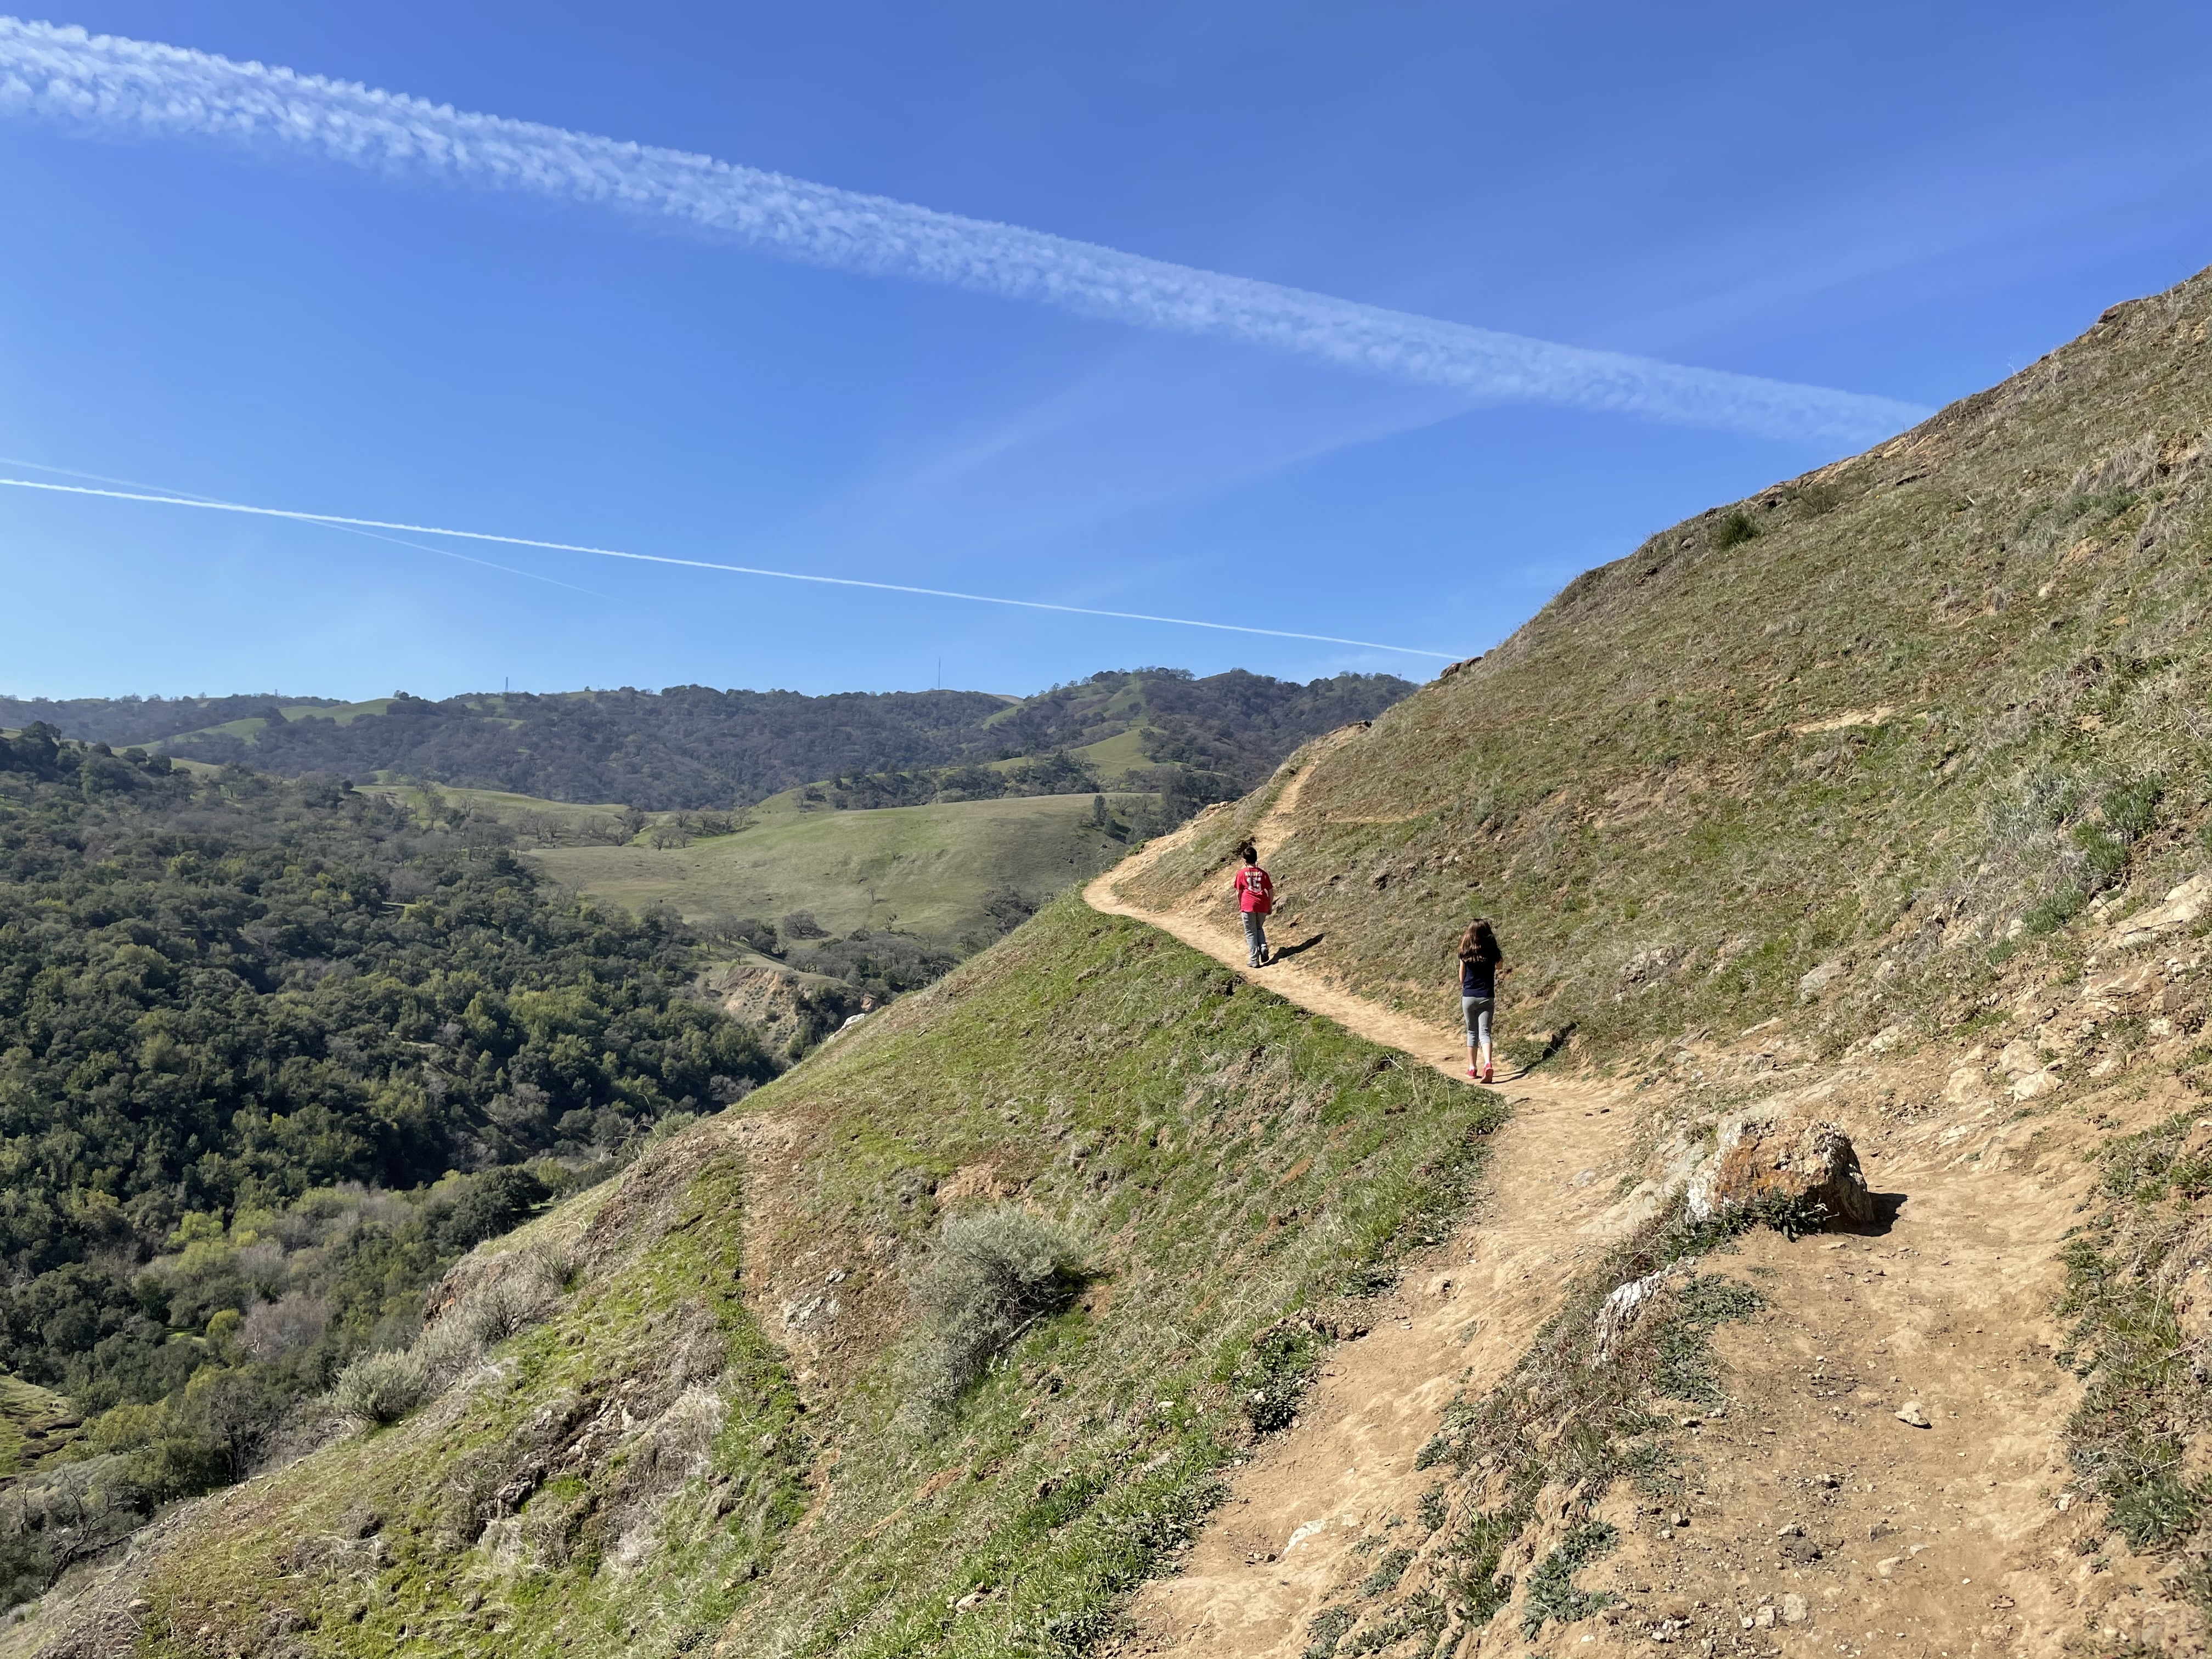
To finish the hike, you can walk back out the way you came for an easy 2 mile hike. Or you can make this a loop! Back at the sign for Little Yosemite, turn north up the marked Canyon View Trail. Continue uphill for approximately 0.6 miles. This trail is a moderate climb, and single track along the side of the hills. We saw a few other families on this trail, but it is not for anyone afraid of heights! You’ll have beautiful views of the open space around you. At McCorkle Trail, turn left to head back down the hillside, and back to the car. This is a moderate hike, just over 2.5 miles.


Wonderful photos, and a great post.
LikeLiked by 2 people